Wednesday, June 5, 2013

Chalkboard Child's Apron

For this project, I tried my hand at sewing.  And I must say, it was easy!  I found the apron on Pintrest and thought, "I can do that". 


Chalkboard fabric...how cool is that?


Materials Used:
  • Cricut cartridge Chalkboard Fonts
  • 1/2 yd chalkboard vinyl
  • 1/2 yd contrasting fabric (a fat quarter will do)
  • One package of 7/8" coordinating seam binding (double fold)
  • Chalk
  • Basic sewing supplies
Directions:
  1. Cut one 21"x17" rectangle from chalkboard fabric for apron front.
  2. Cut one 21"x17" rectangle from contrasting fabric for apron back.
  3. Cut four 22" pieces from the 7/8"seam binding.
  4. Cut one 6"x17" rectangle from contrasting fabric for pocket.
  5. Place chalkboard fabric and lining right sides together. From the top of the apron, measure and mark 5" in from the sides and 8" down from the top on each side and cut diagonally from the 5" mark to the 8" mark.
  6. To make the pocket, fold in half lengthwise, wrong sides together, and iron.  From the center, measure and mark a line every1 1/2" to edges.  Pin edges on chalkboard to form the pocket and sew lines for the individual chalk pockets.
  7. Sew one end and the open sides of your seam binding together with an edge seam.  Pin the  open end of ties to chalkboard fabric at top & sides of apron.  Ensure that your apron ties are pinned with the extra lengths placed in the apron and not out.  That way they are sewn correctly for when you flip the fabric inside out.
  8. Place the chalkboard fabric and contrasting fabric, right sides together. Using a 1/2" seam, sew edges of apron, leaving an opening.  Ensure it is large enough to flip the chalkboard fabric out.  It is a bit stiff and needs a hole big enough to flip.  I would recommend 8".
  9. Trim the corners and turn apron right side out and press. Edge stitch around entire apron.
  10. Using the Cricut cartridge Chalkboard Fonts, create lettering and design in white matte vinyl to personalize the apron.
  11. Prime the fabric chalkboard writing surface by using the side of a piece of chalk to cover the surface up and down and then side to side.  Wipe the surface down with a damp washcloth and your apron is ready to be loved.

Chalkboard "XXX" Days till Christmas Ornament/Display

Is it supposed to be Christmas in July?  Well, how about Christmas in June?  Here is a chalkboard ornament that you can change the number daily on until it's CHRISTMAS!


I was first going to use traditional paint, but used spray paint instead.
I started off with a cardboard rectangular ornament.  I then spray painted it with two coats, allowing 2 hours of drying time between coats.  I then used the new Cricut cartridge Chalkboard Fonts to create the lettering and design.  I transferred the design to the painted ornament using transfer paper to ensure perfect placement.  To give it a little something special, I added a white satin bow to trim the top of the ornament.  Can you believe we only have 205 days until Christmas!!!
I am including my CCR file for easy recreation.  The great thing about the Cricut Craft Room is that you can easily resize this display to be bigger or even smaller if you wish.   Until next time, Merry Christmas in June! 

Tuesday, June 4, 2013

Chalkboard His & Her Piggy Banks

Looking for a unique and fun wedding shower or  bachelorette party gift?  How about His & Her chalkboard piggy banks?


To create these piggy banks, I first spray painted a medium sized and a small sized piggy bank with chalkboard paint.  I then used the new Cricut cartridge Chalkboard Fonts to create the lettering and design.  This cartridge is so fun to play around with.  It has three chalkboard fonts and various squiggles to create your own chalkboard typography.  I cut my designs out in white matte vinyl and used transfer tape to move them onto the piggy's .  That's it  super easy and super cute.  They will be sure to get a laugh from the recipient!

Chalkboard Father's Day Tray

Have you started to think about Father's Day?  It's just around the corner - June 16, 2013.  I decided that I would have the little ones serve Dad breakfast, so I created a tray just for the occasion.


I added the lettering by cutting out the design in white matte vinyl using the new Cricut cartridge Chalkboard Fonts.

This is what the tray looked like when I bought it from a salvage store.
I plan on sizing the file down a bit to create a matching card to go along with the Tray.  I am including my file for easy recreation.

CCR File:   https://www.box.com/s/ex0zc201vrbi14eydzmv

Monday, June 3, 2013

Pink Paislee Warehouse Sale Goodies 2013

It's here! The Pink Paiskee Warehouse Box! I love it! Lot's of things I haven't tried, but am eager to. For example, the Artisan line where you add your own color and some mixed media stuff by artist Christy Tomlinson. Here are some pics for you to check it out.


Chalkboard Pendant Necklace

I have another chalkboard inspired project for you today.  It is a chalkboard pendant necklace.


Bottle cap chalkboard necklace. 
We go together version.

Initials version.
This project is super easy.  All you need is a bottle cap (craft version so the edges aren't rough), chalkboard spray paint, and a chain to create the pendant base and the Cricut cartridge Chalkboard Fonts to add the lettering.
 If your cap does not have a hole in it, punch one first.  You can use a crop-a-dile or just a hammer and nail will work.  Allow an hour to dry and then spray paint the opposite side.


Using the Cricut cartridge Chalkboard fonts, cut your lettering out.  The lettering should be between .5 and .75 to fit inside a standard bottle cap.  Using a pick tool, place the vinyl lettering onto the bottlecap as desired.  Add it to a chain and your ready to sport your trendy chalkboard pendant necklace.  This is a super easy version, but you could dress it up even more by using a fancy blank pendant, beads, or even a small ribbon bow.


Sunday, June 2, 2013

Chalkboard Mini Desk

While on Pintrest the other day, I saw an antique school desk with the top painted with chalkboard paint.  I love old school stuff and it reminded me of a Playschool mini desk that I had as a child.  Well, they don't sell those anymore so I decided to make my own for my daughter. 


I started off with a step stool I found at a garage sale.

Next, I taped off my edges to what would become the desk top.

I then added two layers of the chalkboard paint, leaving 3 hours of drying time between coats.

I then used the new Cricut cartridge Chalkboard fonts to create my lettering.  I removed the negative and picked out the smaller vinyl pieces.  Did you know Chalkboard Fonts is free for you to use this week in the Cricut Craft Room?


I added transfer paper to the top of my lettering to move them to my project.  Transfer tape is very useful when you have a lot of smaller vinyl pieces you want to keep straight or if you want to move around your vinyl cuts to find the perfect placement.

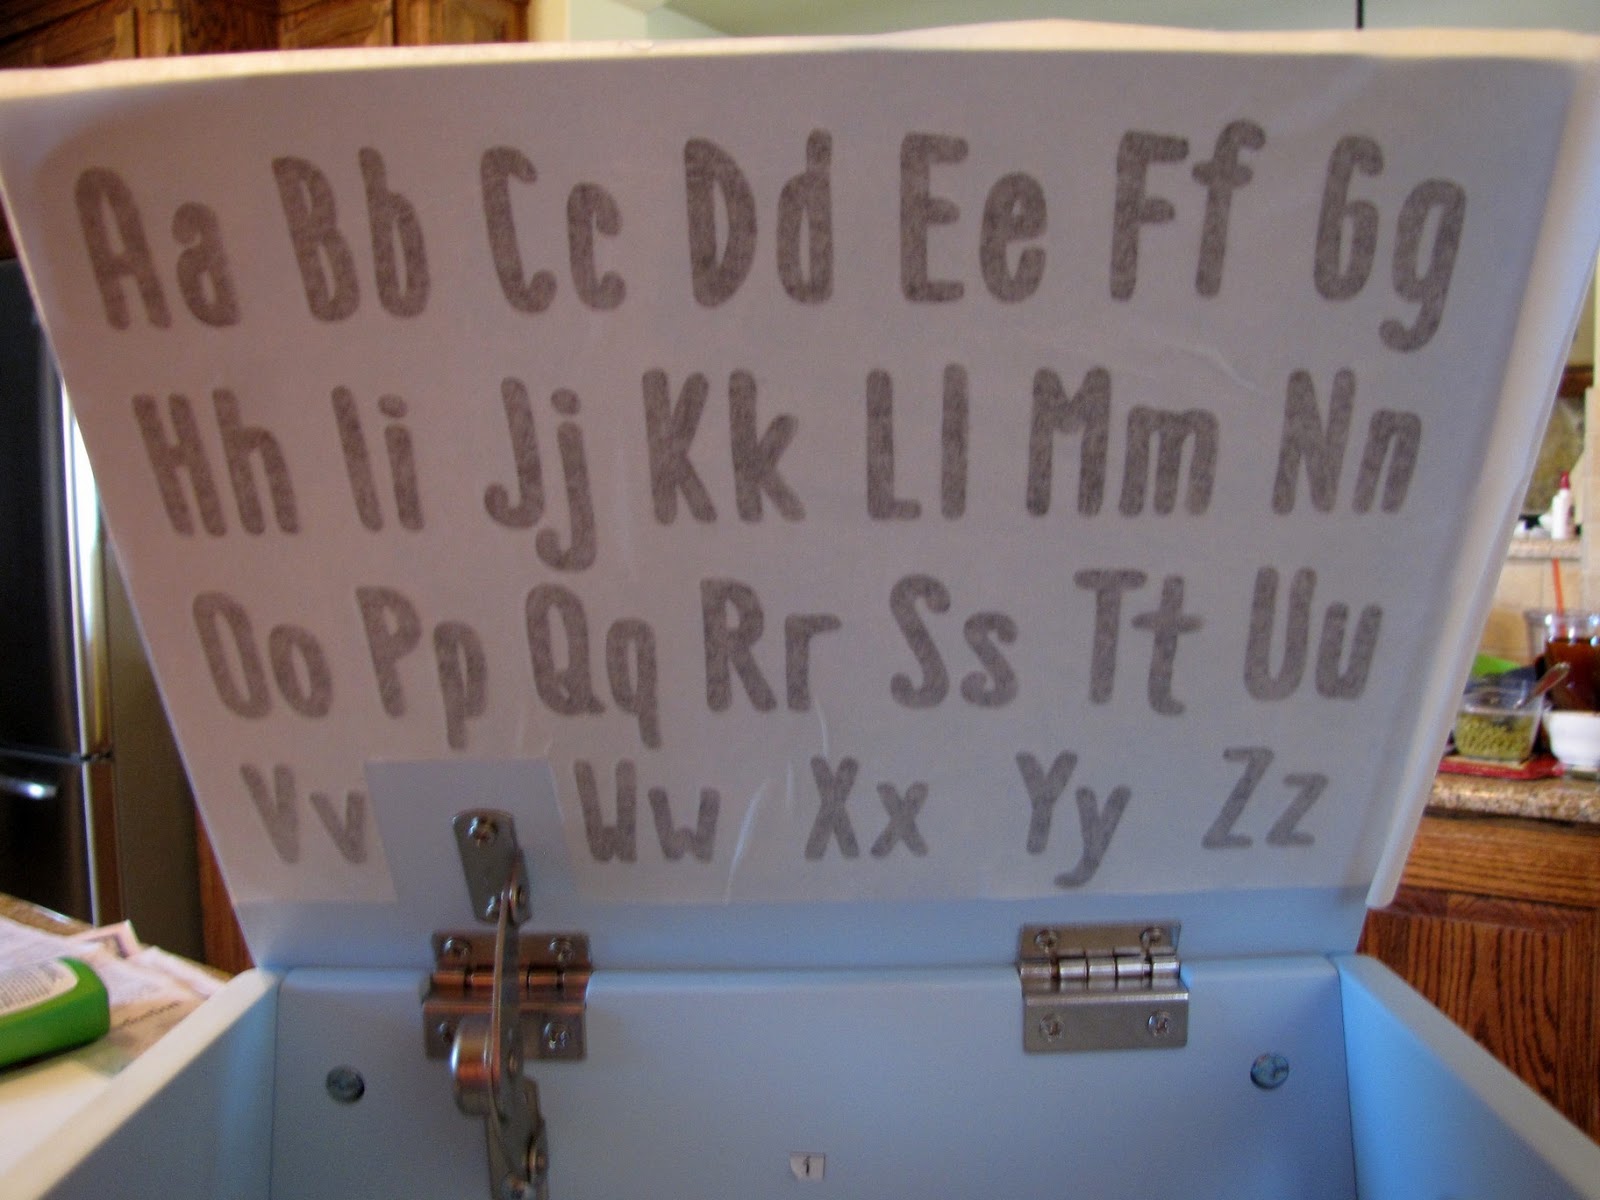
Next, I placed the lettering and transfer tape where I wanted it on my project.  In this case, I wanted the alphabet to be on the inside of the desk top.

Once you brandish your lettering on to your project, simply remove the transfer tape.

I wanted my mini desk to have a bit more of a shabby antique look to it, so I sanded all the edges to let the natural wood peek through.
Now, just fill the mini desk for hours of fun for your little one.
CCR File:   https://www.box.com/s/cez4mqzvtoa0f5sdf1fo


Tuesday, May 28, 2013

Picture Wheel

I have recently seen a few projects created with a picture wheel die cut more commonly know as a viewfinder.  The projects I thought I wanted to make from this cut vary in size, so I decided to make my own.

I created a 12x12 layout with the picture wheel as my first project.
The title and viewfinder are from the Cricut cartridge Toy Story.  I created my picture wheel from Cricut Craft Room Basics which is free for anyone to use.
For my next project, I am gong to make a wheel of my daughter from preschool to 12th grade to display during her open house in a couple of weeks.  Then, I want to resize the picture wheel to a smaller size and create some vintage tags or cards with it.  Oh, the possibilities!!! 

Here is my CCR file so you can create with it too:  https://www.box.com/s/ja403yuqnyl09lh1z4r5

Enjoy! 

Monday, May 27, 2013

Con"GRAD"uations!

Here are some graduation cards I created using the Imagine cartridge Greeting Cards Inside and Out.

I created this card and bag following the basic design on the cartridge.  The only things I changed up were to stamp 2013 to the banner circles and add black stickles to the "grad" portion of the phrase and to the banners.  Oh, and I used the first card layer on the bag instead of the card.

Here is the inside to the basic card.

For my next card, I wanted it to look more masculine.  I didn't use the Imagine to cut the card base and it's first layer.   I printed them, and then cut them using a paper cutter.  I pop dotted the center rectangle on after first cutting the swirls off.  I then pop dotted the banner portion pieces on (cut using the Imagine).  

 For embellishments, I hand drew two lines around the center frame and stamped "2013" to the center of the banner.  I then added them onto an A2 sized black cardstock base.

Here is what the inside of this card looks like.  I added the back portion of the card base to the inside  (cut using a paper cutter and corners rounded) in order to have somewhere to write.  I then covered the cricut logo by off centering the sentiment on top of it.

Of course, if I made a masculine looking version, I NEEDED to make a feminine one too!  This is my "shabby chic" version of the card.

On this card, I used ALL the layers as intended.  Personally, I didn't see the need to have the card front offered as a separate layer.  If you are going to cut and layer the card as intended by Cricut, I don't think it is necessary.  BUT, if you are going to layer the card with embellishments, it could be NECESSARY as in this case.  For embellishments, I first stitched two black lines around the rectangular portion of the frame.  I then added a black seam binding wrap around and bow.  Next, I added a hand cut lace banner imitating the original banner portion. I stitched these pieces on to the card layer to keep them in place.  I then added the circle to the banner and stitched on a coordinating button.  Had I not had the extra layer to wok with, all of the stitched and ribbon could be seen on the inside front portion of the card.  But since I had the layer, I simply added it to the card front and all of it is now hidden.  I also inked all of the edges in antique linen distress ink. 
Inside of the "shabby card".  I inked it and added a button created from the circle banner piece.

Since I created a hand cut lace banner to the front of the card, I used the layered portion on the back stamped with 2013.

Here is what the card and all the layers look like once you select the layer button and print and cut.  Confusing, I know!  Just remember the title of the cartridge "Greeting Cards Inside and Out" and it makes more sense. 

There are lots of different ways you can use the cuts on this cartridge. 
  1. You can cut the card with the layers combined.  The cut would create a card that looks like #1.
  2. You can select layers and then delete them all to just cut the first card layer as shown by the #2.  You could then add it to a cardstock base.  My second card would be a close example of this.
  3. You can select layers and mix and match the pieces.  My first example would be an example.  I used all the layers as intended on the card, but used the first card layer (#2 in the pic) on a gift bag to create a matching set.  You could also use cuts #7 & #8 to create a cute gift tag for the bag.
  4. You can cut all the layers and embellish away to create a unique and more personalized card like my third example.
As you can see, this card can be quite versatile and has a card for just about every occasion.  Why not break it out and see what you can come up with?  Already made a card from this cartridge?  Please add a link to your creation.  I would love to see it!