Showing posts with label Imagine - Enjoy the Seasons. Show all posts

Friday, July 5, 2013

Continuing the Celebration ~ Happy 4th!

I hope you had a wonderful 4th of July.   Unfortunately, I know some of you had to work and are just now starting your celebration.  Here is some cheer to get you started:

Created using the phrase from the CCR Exclusive Independence Day- Freedom, the shield colored from the Imagine cart Buccaneer and cut from Cricut cart Independence day, and the cuttlebug folder Stars.

I also added some Stampin' Up! ribbon, a tab, and red stickles as embellishments.

The flag and banner were cut from the Imagine cartridge Enjoy the Seasons.

I added my hand made firecrackers to this card as well. 
Linked up at:

Wednesday, September 5, 2012

Provo Craft Create a Critter 2 Contest ~ Fall Wall Art

Provo Craft is running a contest using the new Create a Critter 2 cartridge.  They have given us free use of four of the "critters" to craft with. 

To enter, submit the project to Cricut Project Center™ at http://www.cricut.com/project , while logged into your own account. The submitted project must include the use of the Create a Critter 2 cartridge images. Project submitted must display the use of the Create a Critter 2 images

Here is what I came up with:

Home decor wall art.
Materials Used:
  • Cricut cartridge Create a Critter 2
  • Imagine cartridges Enjoy the Seasons and Word of Mouth
  • White American Craft cardstock
  • Stampin' Up! Espresso cardstock
  • cloud 9 Design Seasonal paper pad
  • Embossing folders Swiss Dot and Square Lattice
  • Ranger Distress Ink in Walnut Stain, Crushed Olive, Antique Linen & Festive Berries
  • Green rhinestones
  • Stampin' Up! corduroy buttons in Pumpkin Pie
  • Stampin' Up! hodgepodge hardware in pewter
  • White linen thread
  • Fall ribbon from my stash
  • Pop dots
Using the Imagine cartridge Enjoy the Seasons, flood fill the box frame from Word of Mouth with the fall/acorn pattern at 8"H.  Cut the box frame 4x.  Score at intervals.

Add hardware to hold the frame.  I used a picture/ribbon holder held by a brad.

Mat your selected papers and adhere to the inside of the frame.  I cut my outside layer at 4.75" and my inside layer at 4.5". Add faux stitching if desired.  Next, you simply fold in at all the score lines to create a 3D frame.  I used hot glue to adhere my folds together.

I cut the acorn (pg 4 accessory and accessory) at 4" H.  I then embossed the yellow portion  with the Swiss Dot folder and the brown portion with the Square Lattice folder.  I pop dotted the brown portion on and completed the look with a linen thread bow and green rhinestone.  I also added a fall ribbon bow, linen thread bow, and corduroy button to each frame to help unify the frames.

I cut the tree (pg 4 Icon, Icon, Icon Layer, Icon Layer) at 4"H.  I inked all the edges with Ranger distress ink and completed the look with a linen bow and green rhinestones to the eyes.

I cut the word fall (pg 4 Phrase) at 2" H and completed the look with a linen thread bow and green rhinestones added to the letter ends.

The squirrel (pg 4 Squirrel, Squirrel, Layer, Layer, Shadow) at 4".  I added some faux stitching, a linen bow to the hat and green rhinestones to the eyes.  All the layers were pop dotted on.

Friday, April 27, 2012

NEW RELEASES! My Pink Stamper

So exciting!  Robyn from My Pink Stamper has released four all new stamp sets!

Around the Corner ~ Perfect for the classy/elegant look.  This set also contains corner images to enhance your project. 


Never Give Up ~ Perfect sentiments for the people working hard in your life to be fit  or for any type of competition projects:


Girlie Sayings ~ Need I say more? 


Handle with Care ~ This set would be great if you are a gift giver or like to send things through the mail!  You could add a little something to the top of your package or create something  vintage looking from scratch:


Hope you enjoyed viewing what I came up with.  Please be sure to visit My Pink Stamper to view my fellow designer's projects.  You can also purchase any of these sets HERE.   Happy crafting!

Sunday, April 15, 2012

My Pinkalicious Blog Hop Friday ~ April 2012

Welcome to tonight's My Pink Stamper's Blog Hop!  You should have just left Missy's fun blog.  If you are just joining us, you can start at Robyn's blog.  I wouldn't want you to miss out on any of the fantastic projects we have for you tonight.

The theme for this month's blog hop is Mother's Day.  I am so glad that there is s holiday to celebrate mom's!  I am thankful everyday that I have such a wonderful mother as a supporter, role model and friend!  Thank you Mom, for all the little and big things you do that  make you such an integral part of my life!

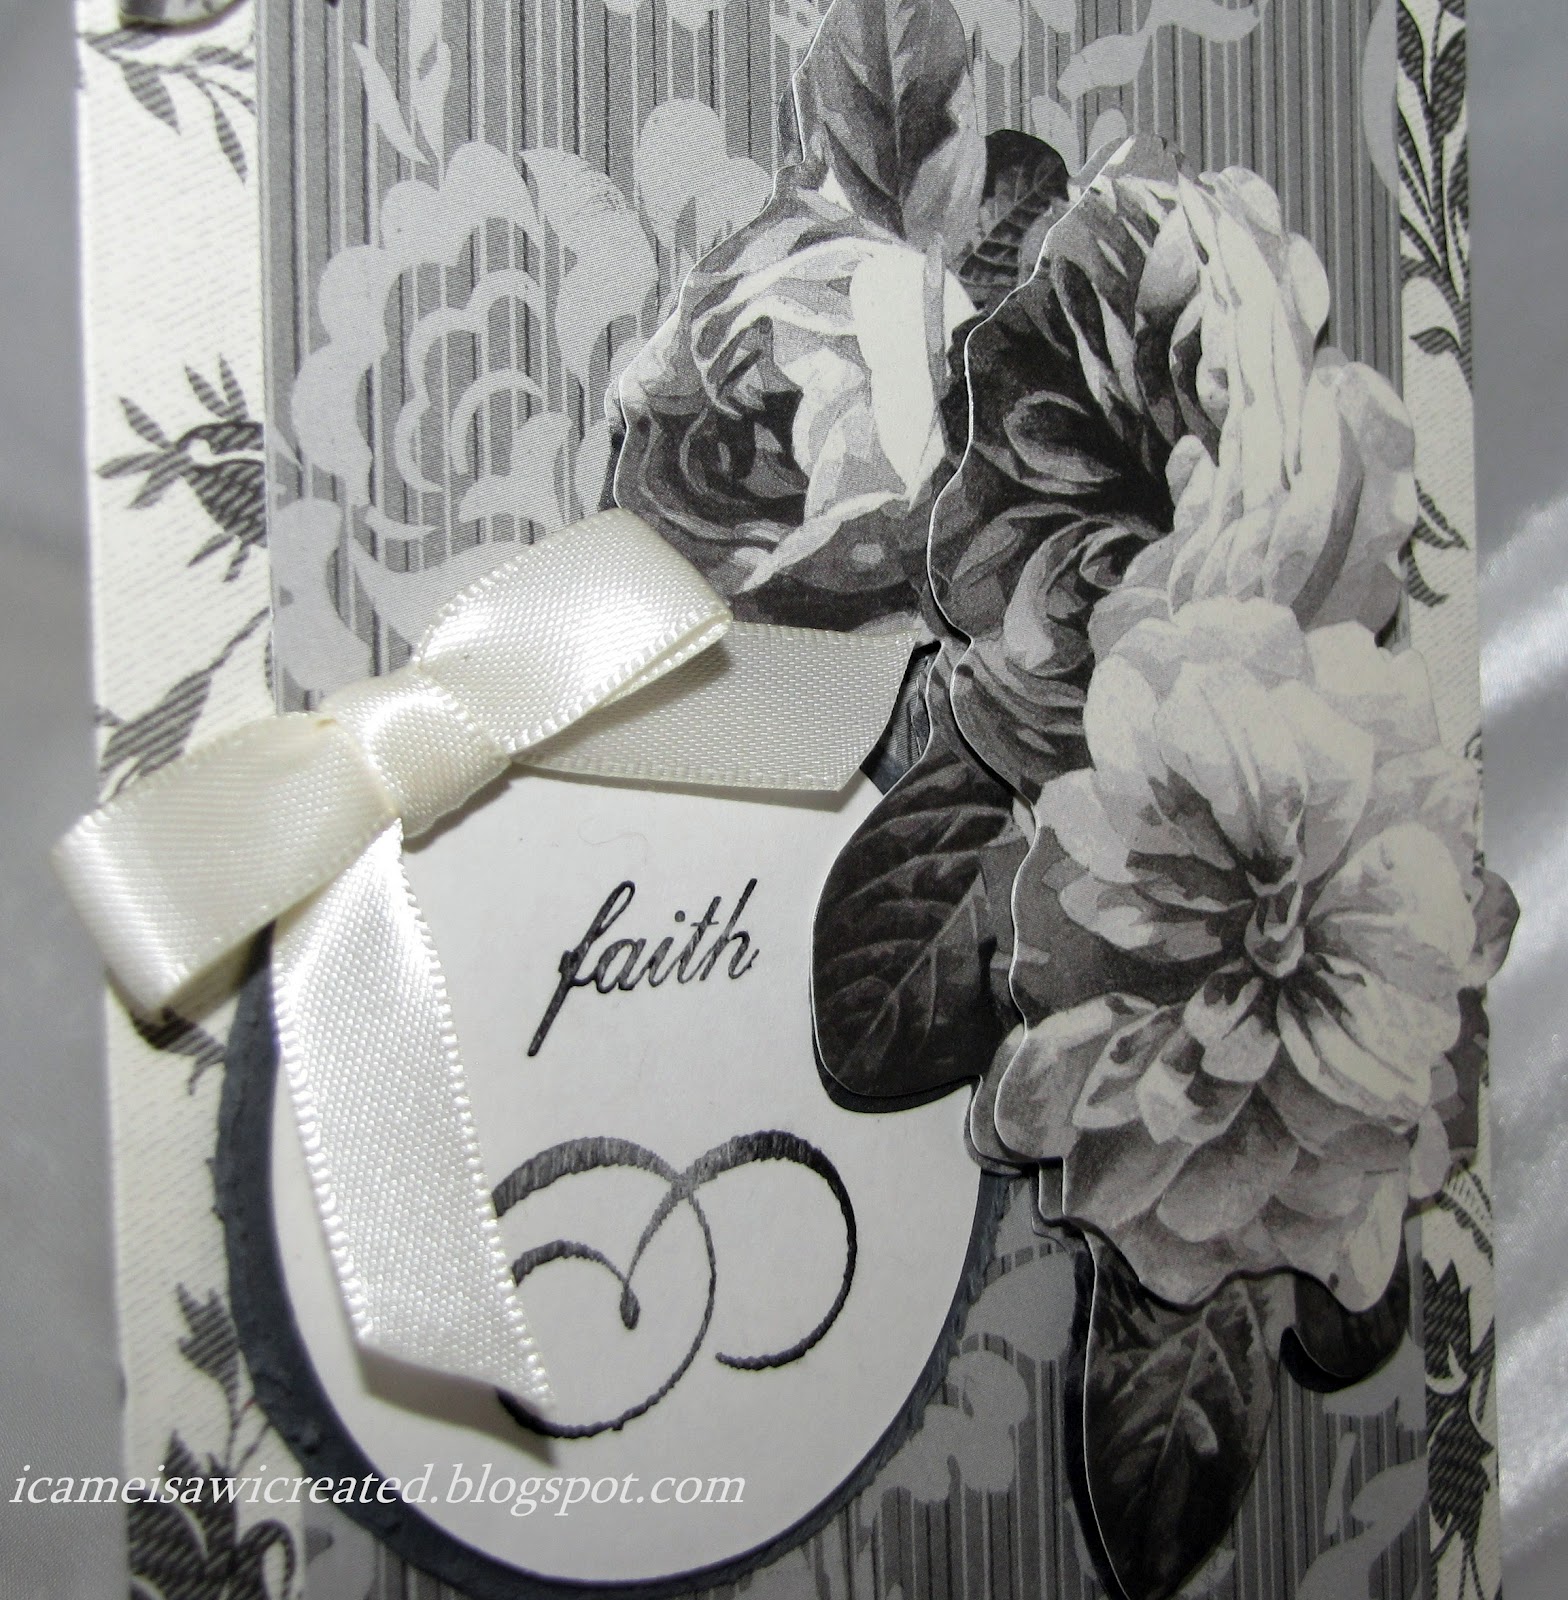
For my project, I created a card and matching envelope to send to my mama (don't look Mom!):


Materials Used:
  • Imagine Cartridge Enjoy the Seasons
  • My Pink Stamper Love-alicious stamp set
  • Stampin' Up! Daffodil Delight cardstock
  • Stampin' Up! Crumb Cake classic ink
  • Stampin' Up! linen thread
  • Stampin' Up! Kiwi Kiss corduroy button
  • American Crafts letterbox ribbon
The card was really easy to make if you have an Imagine.  I cut the image on page 3 of the Enjoy the Seasons handbook, using all the layers.   I also flood filled two squares from the Imagine Shape Library with patterns from pages 38a nd 44.  I cut them to size for my mats before adhering the images.  I pop dotted all the layers to add dimension and stamped 1/2 of my sentiment from Love-alicious on the banner by masking the second line.  I repeated this process, this time making the first line and stamping the rest of the sentiment on the bottom corner layer.

Thank you for joining us this evening!  As a special thanks, I am giving away the My Pink Stamper Love-alicious stamp set.  You can also purchase this stamp set and more here.  All you need to do to qualify to win is leave a comment on this post.  I will use Random.Org on Tuesday, 04-17-12 to pick a winner and post the results. The winner will have until Friday night, April 20th to contact me with your mailing information.   If I don't hear from the winner, then the stamp set will go back into my stash for a future blog hop.  Your next stop on the hop is with the talented Roberta.  She always has such fun projects! 

Happy crafting and don't forget to remember your mom, not only on Mother's Day, but everyday. 

Here is the entire blog hop order;

Friday, April 13, 2012

Nuts About You


Materials used:
  • Cricut cartridges Letter Envy and Fabulous Finds
  • Imagine cartridge Enjoy the Seasons
  • My Pink Stamper Punny-licious stamp set
  • Stampin' Up! Crumb Cake cardstock
  • Stampin' Up! Chocolate Chip classic ink
  • Stampin' Up! gold brads
  • Martha Stewart Wood Grain - 1 1/2" putty ribbon

Thursday, April 12, 2012

SPRING 12x12

This week, our Cricut Circle blog was as follows:

Weekly Challenge #55: Springtime Challenge!

The Challenge: Create a scrapbook page, card, home decor item, or other project with a Springtime theme. You must also incorporate ric rac and at least one sticker.

I decided on a Spring themed LO for my project:


Materials Used:
  • Cricut cartridge Letter Envy
  • Imagine cartridge Enjoy the Seasons
  • DCWV designer paper
  • DCWV Pocket Full of Posies cardstock stack
  • My Minds Eye Quite Contrary journal spot
I also used the Cricut Circle exclusive cartridge, Letter Envy so I can have another entry in that contest.  Remember, you can enter as many times as you want for this month's Cricut Circle Magazine Challenge!  You have one more day.....