


 |
| I started off with a step stool I found at a garage sale. |
 |
| Next, I taped off my edges to what would become the desk top. |
 |
| I then added two layers of the chalkboard paint, leaving 3 hours of drying time between coats. |
 |
| I then used the new Cricut cartridge Chalkboard fonts to create my lettering. I removed the negative and picked out the smaller vinyl pieces. Did you know Chalkboard Fonts is free for you to use this week in the Cricut Craft Room? |
 |
| I added transfer paper to the top of my lettering to move them to my project. Transfer tape is very useful when you have a lot of smaller vinyl pieces you want to keep straight or if you want to move around your vinyl cuts to find the perfect placement. |
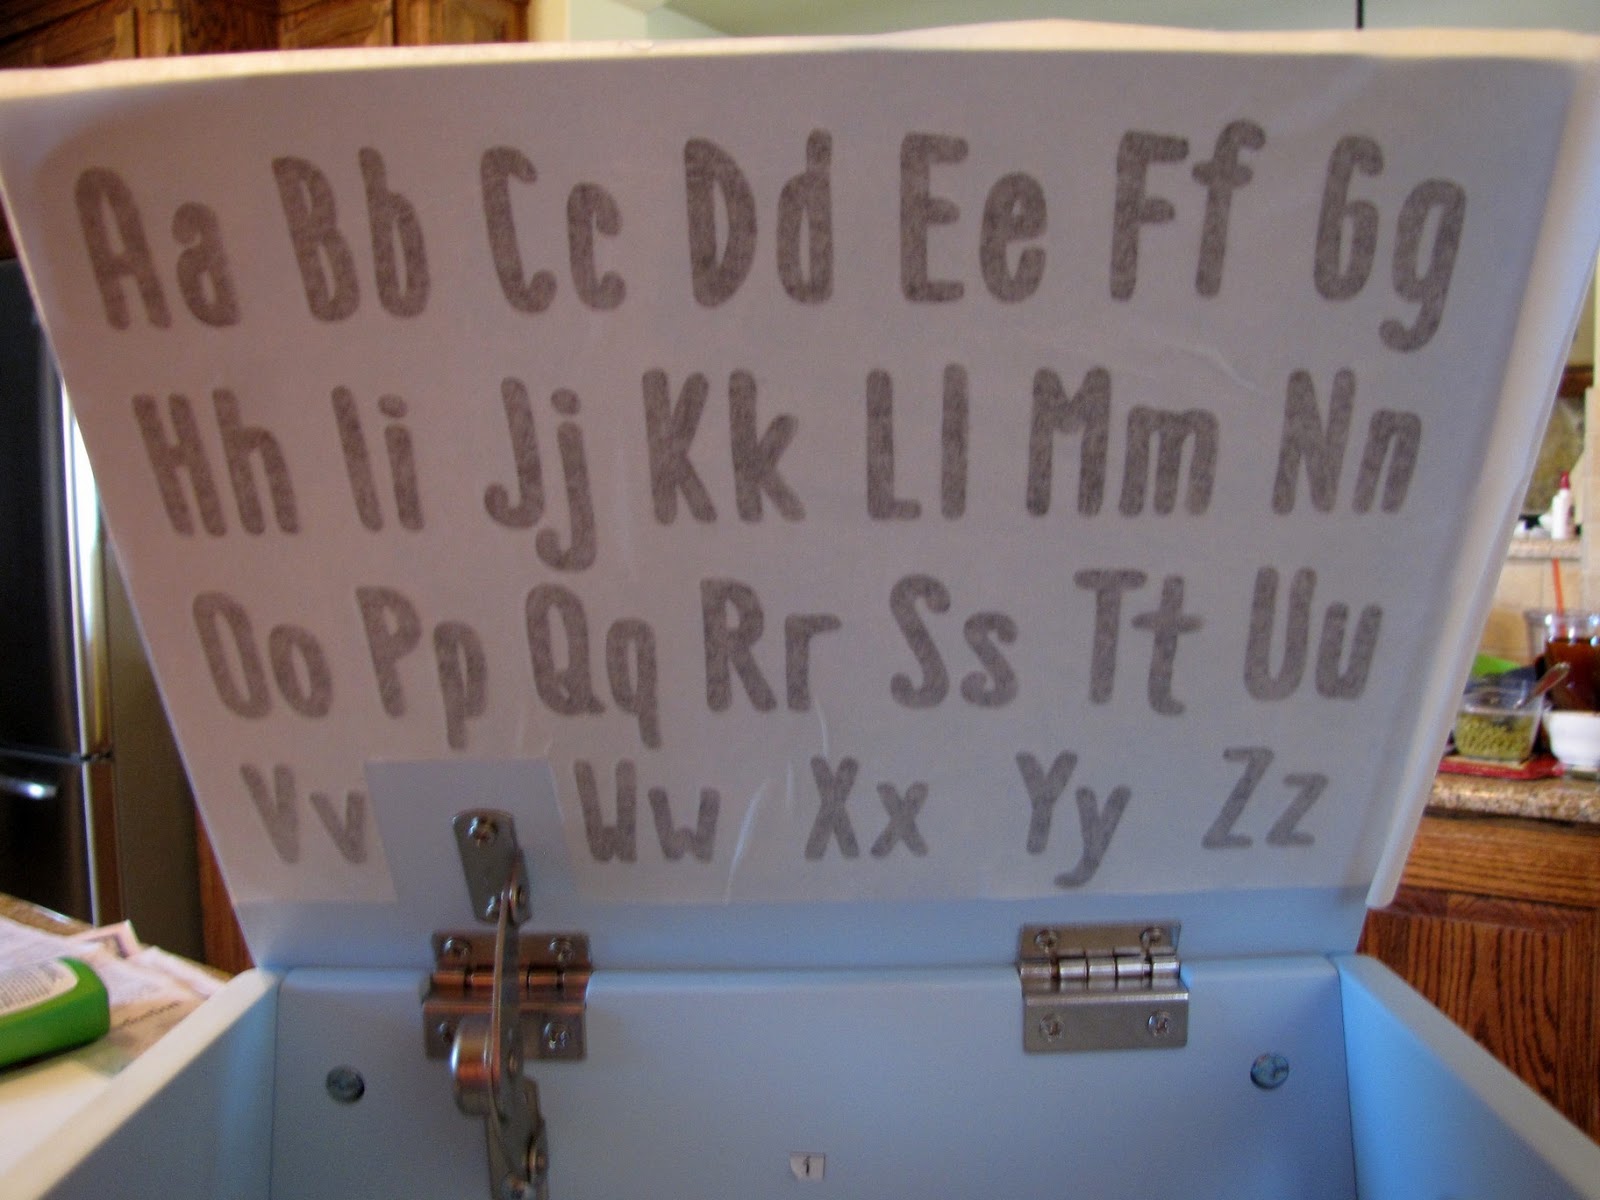 |
| Next, I placed the lettering and transfer tape where I wanted it on my project. In this case, I wanted the alphabet to be on the inside of the desk top. |
 |
| Once you brandish your lettering on to your project, simply remove the transfer tape. |
 |
| I wanted my mini desk to have a bit more of a shabby antique look to it, so I sanded all the edges to let the natural wood peek through. |
 |
| Now, just fill the mini desk for hours of fun for your little one. |
I love this!!
ReplyDelete