
 |
| Here's a view of the back. |
 |
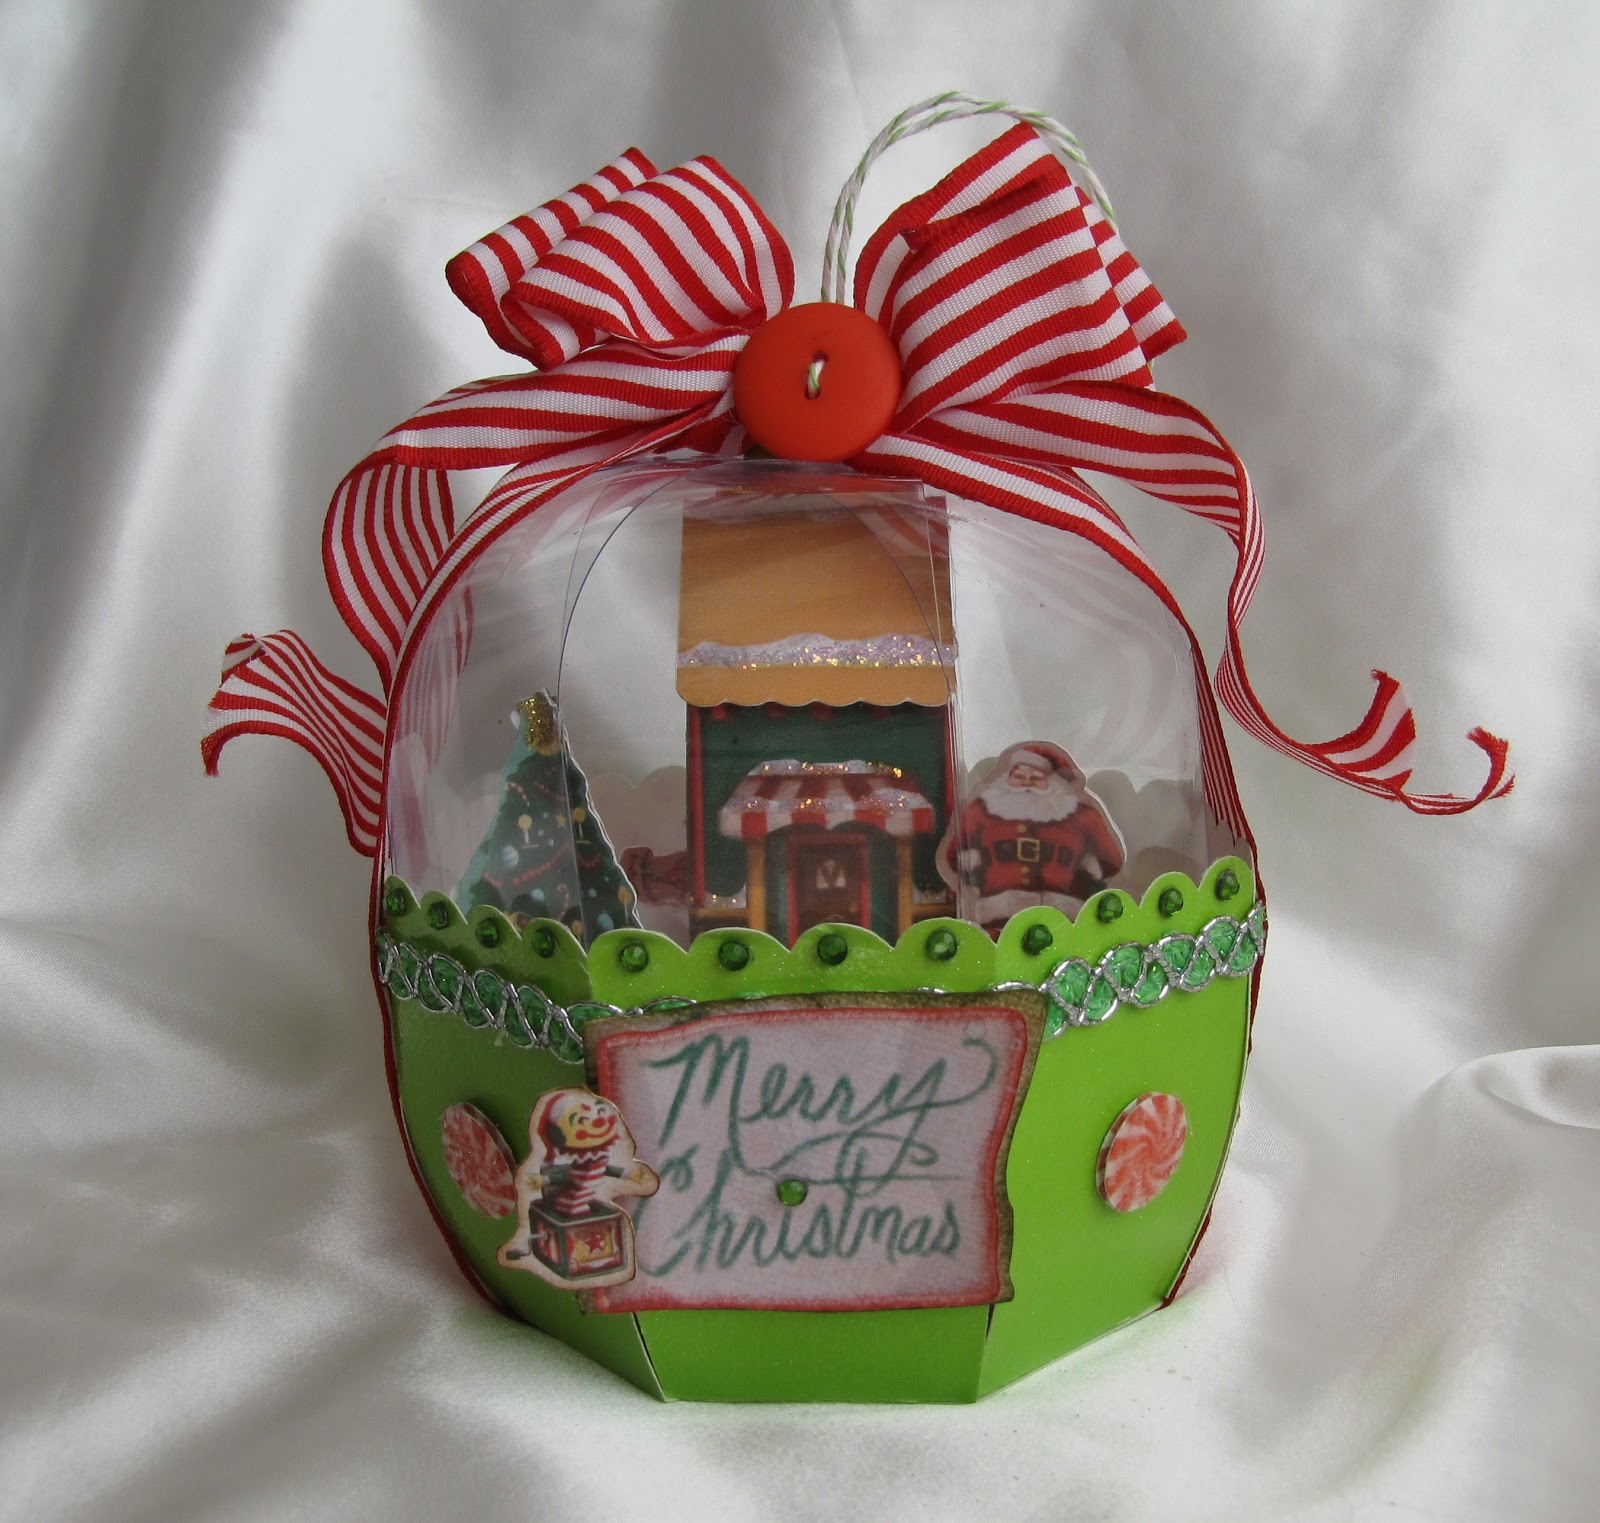
| And a close up of some of the embellishments. The peppermint candy is from Santa's village as well. I just printed out one of the patterned papers to get the image and then pop dotted them and added coarse glitter to the top layer. |
 |
| Inside view from the front. |
 |
| Inside view from the back. |
Materials
Used:
- Cricut Cartridge Sweet Tooth Boxes
- Imagine Cartridge Santa's Village
- Impact Clear binding covers
- DCWV glitter cardstock
- Ribbon from my stash (striped)
- Webster's Pages designer trim (green)
- Green and white twine
- Stickles in gold and iridescent
- Green rhinestones
- Brad
- Cotton pads
- Martha Stewart coarse glitter
Gypsy file: https://www.box.com/s/5jmu9qa7e6paq5fosege
Directions:
I used the ice cream cone cut (pg. 15) from Sweet Tooth boxes for my globe. I used the base (pg. 19 cut @ 11.5"), the top (pg. 16 cut @ 11.5") and the inside cupcake holder (pg.20 cut @ 11.5" relative x2). I cut the top using clear binding covers since I couldn't find acrylic or acetate sheets in stock at my local craft store. I found the binding covers at Office Max. Once I assembled the acetate top, I punched a hole on the top and ran a brad through it to keep the top together. The base was cut from DCWV glitter cardstock. Once I assembled my base I added one of the inside bases (cupcake holders with the inside hole hidden using the hide/contour feature). After I did this, I cut my base a second time, this time hand trimming off the "legs", leaving 1/4" of the cut to be able to glue to the clear acetate and glue my vignette to. Once I assembled the globe, I found that this step was unnecessary to complete the globe. I will call this last step "optional" to use only if you want a second base to adhere your village to. If you don't use this step, you will simply adhere your village onto the first inside layer.
I used the Imagine cartridge Santa's Village to create my scene. I cut the 3D house on page 29 @ 4.0" x 2, Santa page 3 @ 1.5" x2, the sled page 21 @ .5" x2, and the Christmas tree page 24 at 2.0" x3. I flipped the 2nd cut of Santa, one of the trees, and the sled so the images can be seen at either side of the globe. The 3D house only has one cut with two sides, so I simply cut it out twice to complete the 3D effect. To assemble the Christmas tree, I folded each in half and the then adhered them together, starting with a regular image, then the flipped image, and back to a regular image. All the cuts were glued to cotton pads stretched out to make my snow which was taped to my second inside base (cupcake liner). I also hand trimmed down each side leaving about 1/4" on the legs to adhere it to the clear top.
The next step is to glue your clear acetate top to the base. I used hot glue for this step. Since I used the "optional step", I first hot glued my village to the base. Then I hot glued the top to base.
The last step is to embellish away! I first added rhinestones to each scallop. Next, I added green trim around the base, just under the rhinestone scallops. I then used my striped ribbon tho tie a bow around the entire ornament. I also used green and white twine to tie a coordinating red button to the bow while creating a hanger for the ornament. I added my Merry Christmas saying from page 25 of Santa's Village cut @ 2.0" to the front and added a rhinestone to the "i". I also pop dotted the jack in the box from Santa's Village cut @ 1.0". The last embellishments I added were the peppermint candies I cut from a printed pattern from Santa's village. They were cut at .6" and each had two layers pop dotted together and covered in course glitter for dimension.
That's it! The ornament is ready to adorn the Christmas tree. I would love to see other's vignettes, so if you recreate, please share a link for all to see. =)
Greta snow globe Renee, what a terrific idea, the embellishtments inside and the big bow look perfect!!
ReplyDelete